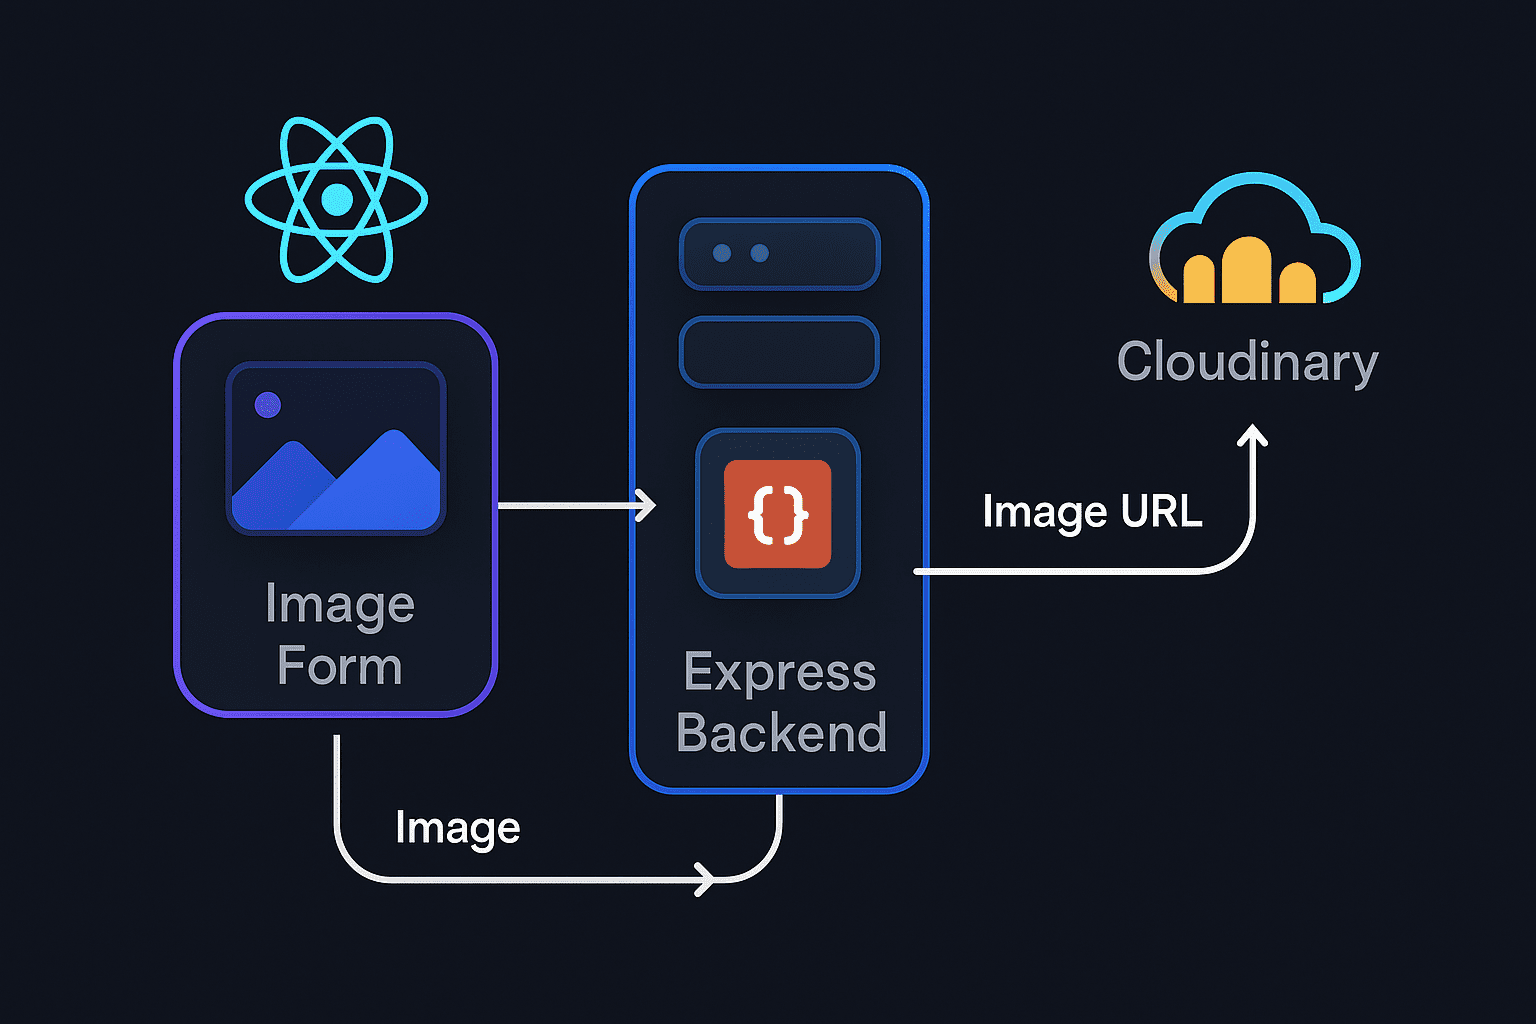
Image Upload with Cloudinary in MERN (2025 Guide)
Uploading and managing images is a common requirement for modern web applications. In the MERN stack, integrating Cloudinary makes this process fast, scalable, and secure.
In this guide, you'll learn how to implement image upload functionality using React, Node.js, Express, and Cloudinary — step-by-step.
☁️ Why Use Cloudinary?
Cloudinary is a cloud-based image and video management platform that offers:
- Secure uploads
- Auto-optimization (compression, resizing)
- CDN delivery
- Easy integration with Node and React
🧱 Folder Structure (Simplified)
mern-cloudinary/
├── client/        # React
└── server/        # Express + Cloudinary
    ├── routes/
    └── controllers/
🛠 Backend Setup
1. Install Dependencies
npm install express cloudinary multer dotenv cors
2. Cloudinary Config (server/utils/cloudinary.js)
const cloudinary = require("cloudinary").v2;
cloudinary.config({
  cloud_name: process.env.CLOUD_NAME,
  api_key: process.env.CLOUD_API_KEY,
  api_secret: process.env.CLOUD_API_SECRET
});
module.exports = cloudinary;
3. Multer Setup (middleware/multer.js)
const multer = require("multer");
const storage = multer.memoryStorage();
const upload = multer({ storage });
module.exports = upload;
4. Upload Controller (controllers/upload.js)
const cloudinary = require("../utils/cloudinary");

exports.uploadImage = async (req, res) => {
  try {
    const b64 = Buffer.from(req.file.buffer).toString("base64");
    const dataURI = "data:" + req.file.mimetype + ";base64," + b64;

    const result = await cloudinary.uploader.upload(dataURI);
    res.json({ url: result.secure_url });
  } catch (err) {
    res.status(500).json({ error: "Upload failed" });
  }
};
5. Upload Route (routes/upload.js)
const express = require("express");
const upload = require("../middleware/multer");
const { uploadImage } = require("../controllers/upload");

const router = express.Router();
router.post("/upload", upload.single("image"), uploadImage);

module.exports = router;
⚛️ Frontend Setup (React)
1. Build Upload Form
const handleUpload = async (e) => {
  const formData = new FormData();
  formData.append("image", e.target.files[0]);

  const res = await fetch("/api/upload", {
    method: "POST",
    body: formData,
  });

  const data = await res.json();
  console.log("Uploaded Image URL:", data.url);
};
2. Display the Uploaded Image
<img src={uploadedImageUrl} alt="Uploaded" />
✅ Best Practices
- Use memory storage for temporary files only
- Always validate file types/sizes
- Set up separate folders or tags in Cloudinary
- Secure your API keys with environment variables
💡 Use Cases
- Profile pictures
- Product galleries
- Post attachments
- Real-time uploads in forms
🧠 Final Thoughts
By integrating Cloudinary with your MERN stack app, you unlock:
- Speed 🚀
- Reliability 🔒
- Media optimization 📷
This makes your app more dynamic, professional, and scalable for 2025.
Published on: 2025-06-18


